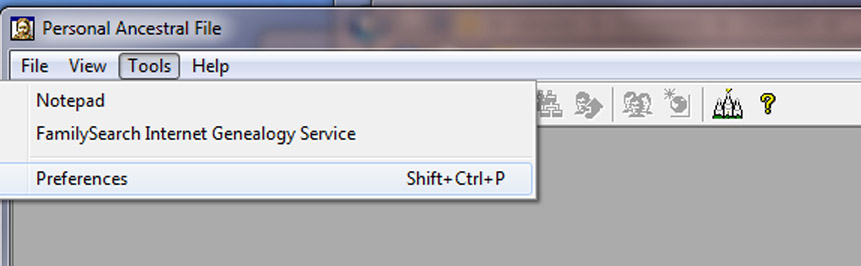
PAF Preferences File Tab When you first download the PAF program, the main menu across the top of the screen contains only four options. They will change according to the options you select. To find the Preference options for PAF, follow these instructions:
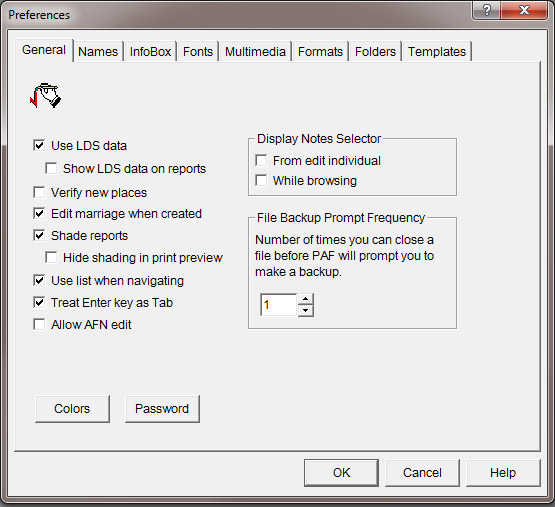
The Preferences menu will appear. The Menu for Preferences includes eight tabs across the top of the box in version 5.2 as shown in the image below. You should study the information under each tab, and the demonstration below will instruct you in the reasons you might want to click one option over another. Most students will have different boxes checked.
General The first menu item is the "General" screen. It controls the general appearance and functions for the whole PAF program. From this screen you can choose to:
Colors On the General Tab is a button labeled "Colors". Click on the button and you can define what colors your computer will use to display its various screens. Play with it and decide what you prefer. Don't worry. You can't break anything. Password More students have forgotten their password than this option has helped. I would suggest it not be used unless you never lose a password and you read all the instructions in the help file. Display Notes Selector This lists the subject tags used in your notes and allows you to view all of your notes or only the notes with a particular tag. [NOTE: we are NOT using the notes selector option in this class, because it prevents notes from being put in chronological order. You will be taught that method in the next few lessons.] So please leave these two boxes unchecked.
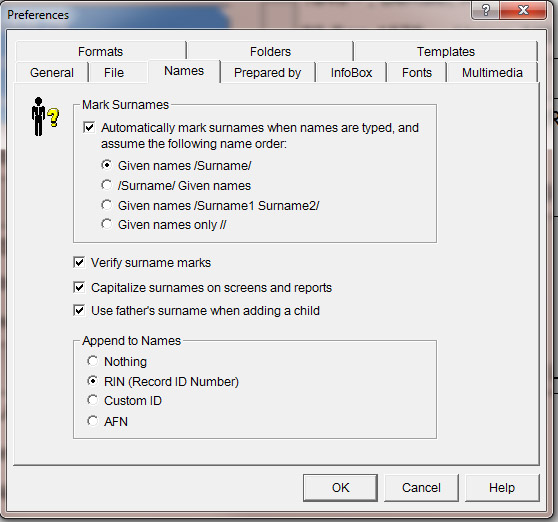
File Backup Prompt Frequency Set this to the number of time you want to open, use the file, and close it before PAF will remind you to make a backup. Beginners might want to set this at 1 so a reminder is often given. It is very easy to make a backup. Just click on the word "File" from the option across the top list of words in the program and select the option to "Backup." Give your computer instructions as to where the backup should be saved. Names Tab Notice more options have been added to the Preferences window due to items checked above under the General Preference tab. We will next check out what is under the Names tab in the Preference area.
Mark Surnames It is suggest you check the "Automatically mark surnames . . . and click the radio button beside "Given names/Surname" to match instructions given in your lessons. Verify New Names Click this option if you want the program to ask you to verify each new name that you type into the database. This can help catch spelling errors. Capitalize Surnames on Screens and Reports To help Surnames stand out on reports and on the screen you can instruct the program to always show the surname as all capital letters. We highly recommend you do this. Example: Not Capitalized: Kalle Kallenpoika Hakala Tip: This way you should NOT capitalize every letter of the last name when you enter it. The program will produce the result, automatically. Also you should NEVER capitalize every word in your program as it will make a real mess. Use standard upper and lower case lettering. Use Father's Surname When Adding a Child This option saves you time and can be manually changed if the child has a different surname such as via adoption or as a step-child. Append to Names This allows you to have an identification number of your choosing appended to each name—or have none appended. The format of the appended number would be: Full Name—Identification Number This number helps in identifying, locating, and reporting a person later. The styles of numbers are:
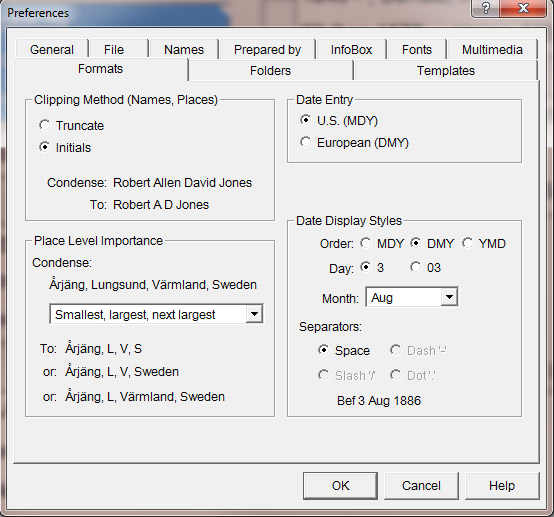
Format Tab
Clipping Method (Names, Places) Select the way you would like the program to shorter complete names or localities such as by truncating the name as explained in the Chapter 2 reading in The Complete Beginner's Guide . . . or by just providing initials for given names as illustrated above under "Condense." Place Level Importance Select the method from the three options provided for condensing long place names. You can change this later if you desire. Date Entry Select the way that you want the program to interpret dates that you type as all numbers. Once the choice is made, if you enter the date as just numbers, you must enter the date in the same format each time. You can later change your options.
Date Display Styles & Separators This option enables you to select how dates are displayed on the screen and in printed reports. You can select the order in which dates are displayed such as 3 or 03. You can select how months are displayed by using the drop down list. If you select a numeric format for the month, you will need to choose how to separate the month from the day and year. It is best to set up the program as illustrated in the image above for the Formats preferences.
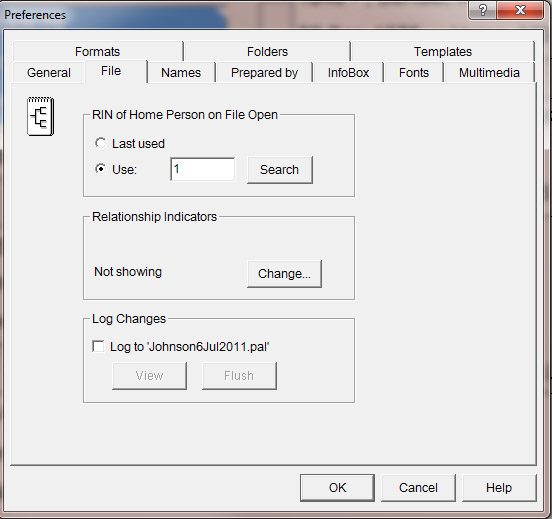
RIN of Home person on File Open This specifies the individual that you want to appear in the primary position (the left-most side of the screen) in the pedigree chart or as a family when you first open a file.
Relationship Indicators One of the handy things about programs running in Windows format is the "status bar"—the grey frame along the bottom of the screen holding the program you are using. You may have noticed the information that appears there while you are using your browser or a program. If you want to take advantage of the status bar while using PAF, click the Change button. You can establish—or at any time change—the individual in this family line (or file) whom you want as "root." Click the Search button here to identify him or her. Once you establish that person, click the box next to Show Relationships on Status Bar The relationship between your root person and anyone else in the file will appear on the status bar at the bottom left. Log Changes The program can keep track of all of the changes you make in a file. This can be important as a double-check for inadvertant errors. If you want to make use of the automatice log, click here. To view the Change Log you will have to return here and click the View button. To empty the log file, you return and click the Flush button. Tip: From time to time, flush or delete the log file.
|
||||||||||||
|
|