LEGACY'S ALPHA INDEX
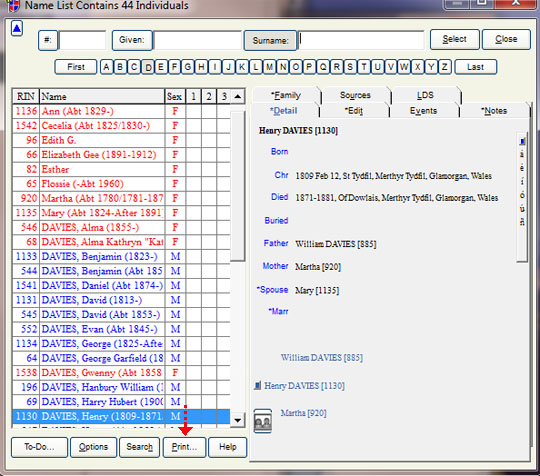
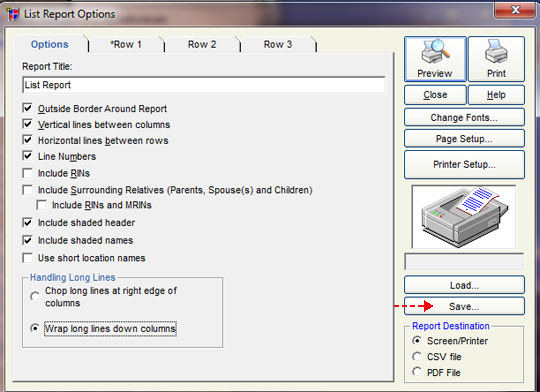
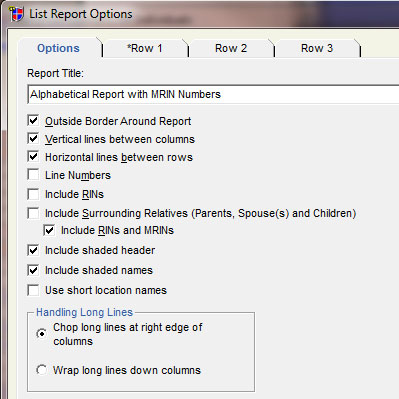
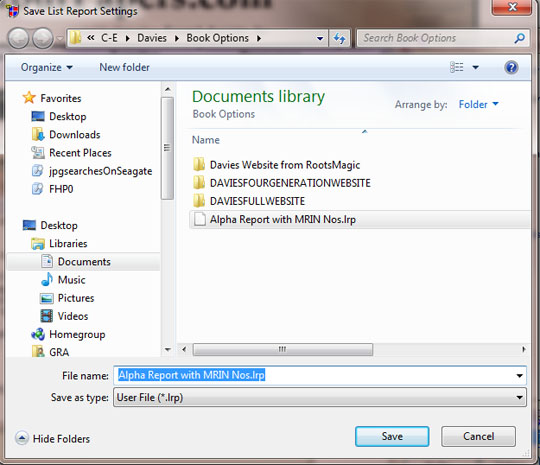
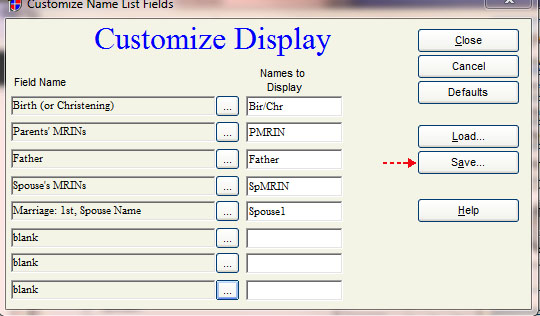
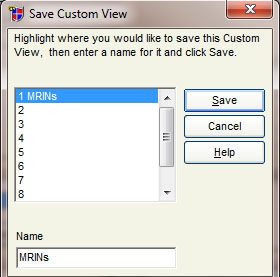
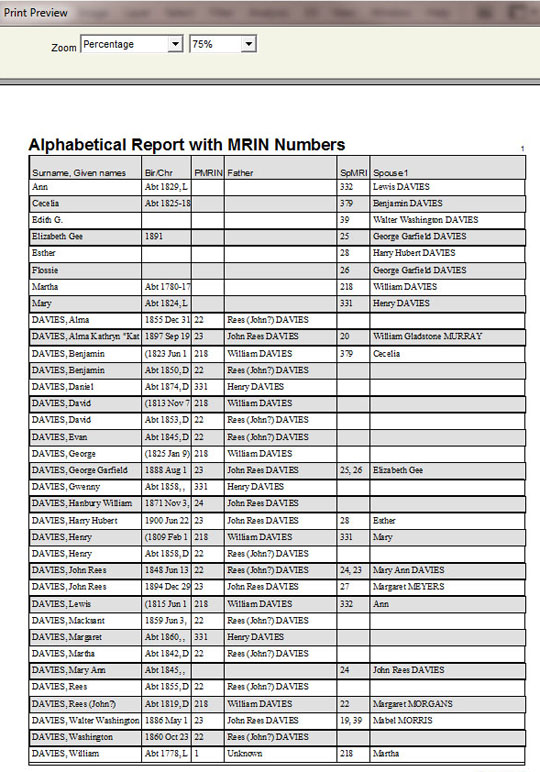
Every computer genealogy software program produces some kind of an alphabetical index. Students are asked to print an alphabetical index from their software program to make it faster and easier to file original documents. Below are the steps required to both set the MRIN numbers to print on Family Group Records and Pedigree Charts, and to create an Alpha Index cross-referenced to the Marriage Record ID numbers (or MRINs) within the Legacy software program.
- Click Options from Legacy's top menu items.
- Select Customize from the Options drop down menu as shown in image L6_01.
Legacy Image L6_01 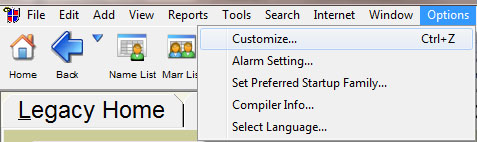
- Select the View tab illustrated in blue in image L6_02.
- Check the boxes listed below and shown under Birth and Death Years on Names:
Parents' names on Family View
Children's names on Family View
Pedigree names on Pedigree View
Names on Name List
- Check these boxes under Display Numbers on Names:
On all Name Lists
On Family View and Pedigree View
RINs
- Check these boxes under Show Status on Family View:
On Marriage info
On Children
- Click the "Save" button at the bottom of the page.
Legacy Image L6_02 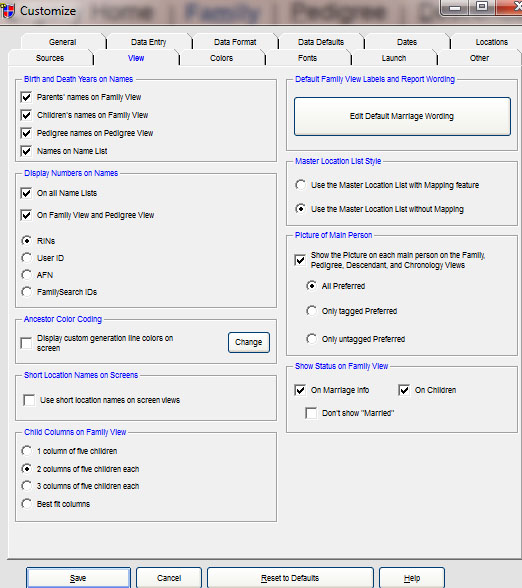
Customize MRINs to Show Up on Charts and Forms
- To have MRIN numbers appear on pedigree charts and family group records, click the word Reports from the top menu items.
- Click Report Menu (Charts) as shown in image L6_03.
Legacy Image L6_03 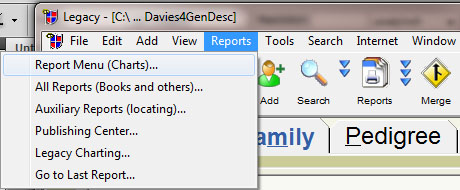
- Click on the Family tab
shown in blue on image L6_04 below.
Legacy Image L6_04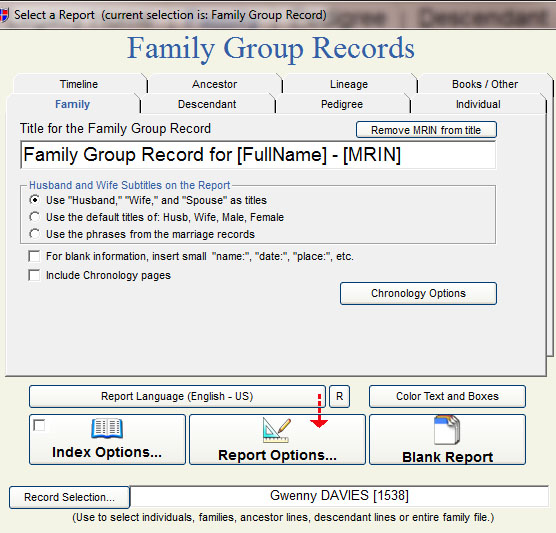
- Click on the Report Options tab in the middle bottom of the Family Tab as shown in image L6_04.
You will be taken to the Include tab.
Legacy Image L6_05 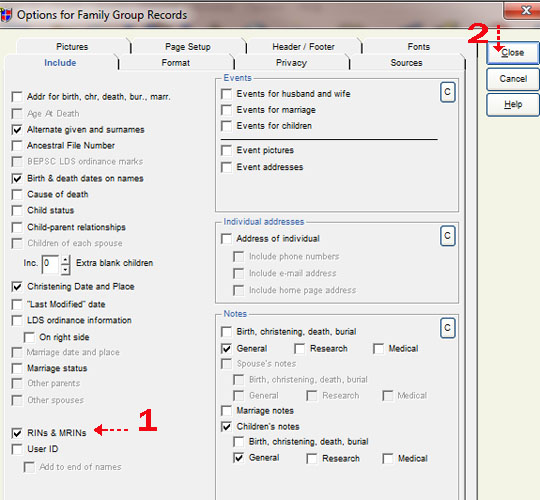
|